My exquisite little hand-crafted fender mount worked like a champ. I used a faucet washer between the bracket and the chainstay bridge for vibration dampening:
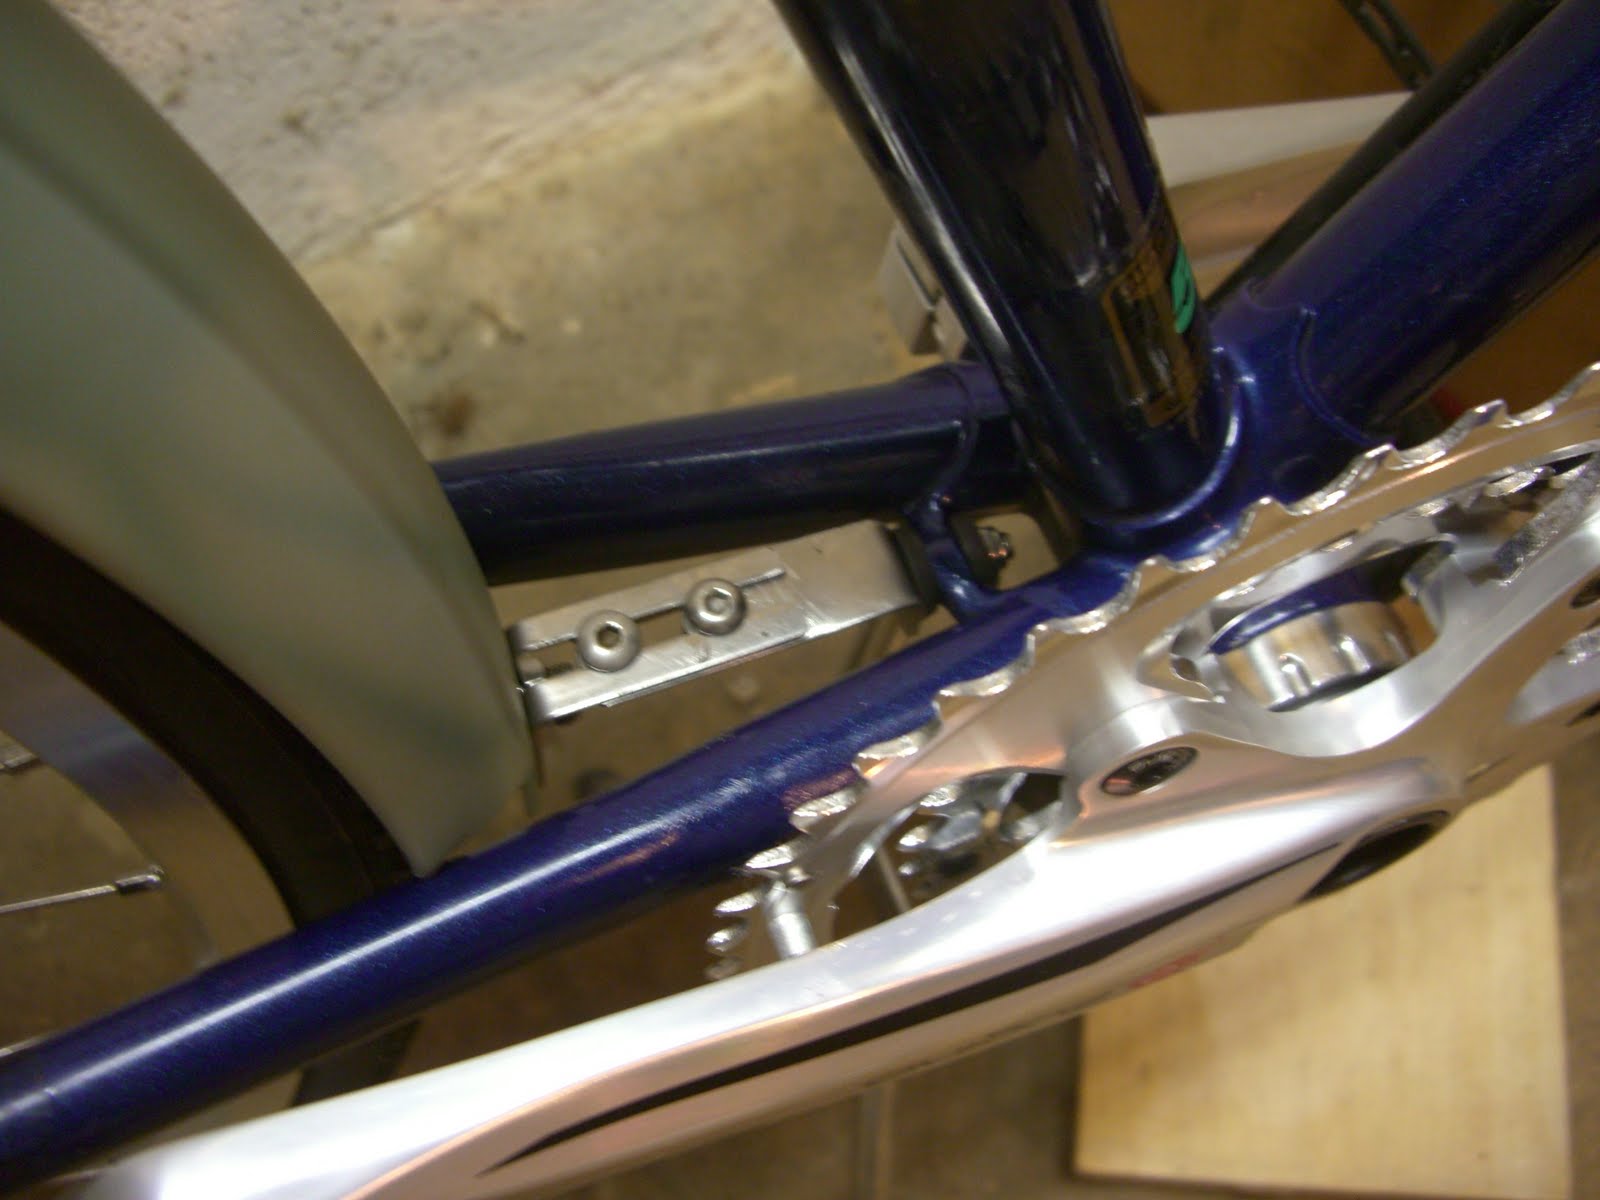
It doesn't even look too bad, although next time I'm in there I may polish up some of the file marks a little more.
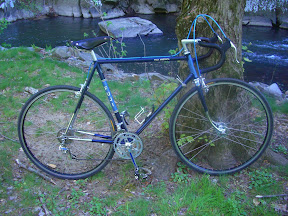
I fit this mount first and satisfied myself with its location and adjustment. The rear wheel was in the frame providing support for the fender.
I then held the fender up against the seat stay bridge and marked the back of the seatstay bridge on the fender. This was used as a reference point to position the Honjo L bracket:

To drill the holes for this L bracket, first I removed the fender from the bike. Then I taped the L bracket on the fender with quasi-sticky blue masking tape according to the reference mark taken from the seatstay bridge. With a 1/8" drill bit, I used the taped on bracket as a template. Following drilling, the resulting burrs are smoothed with a bid of sandpaper.
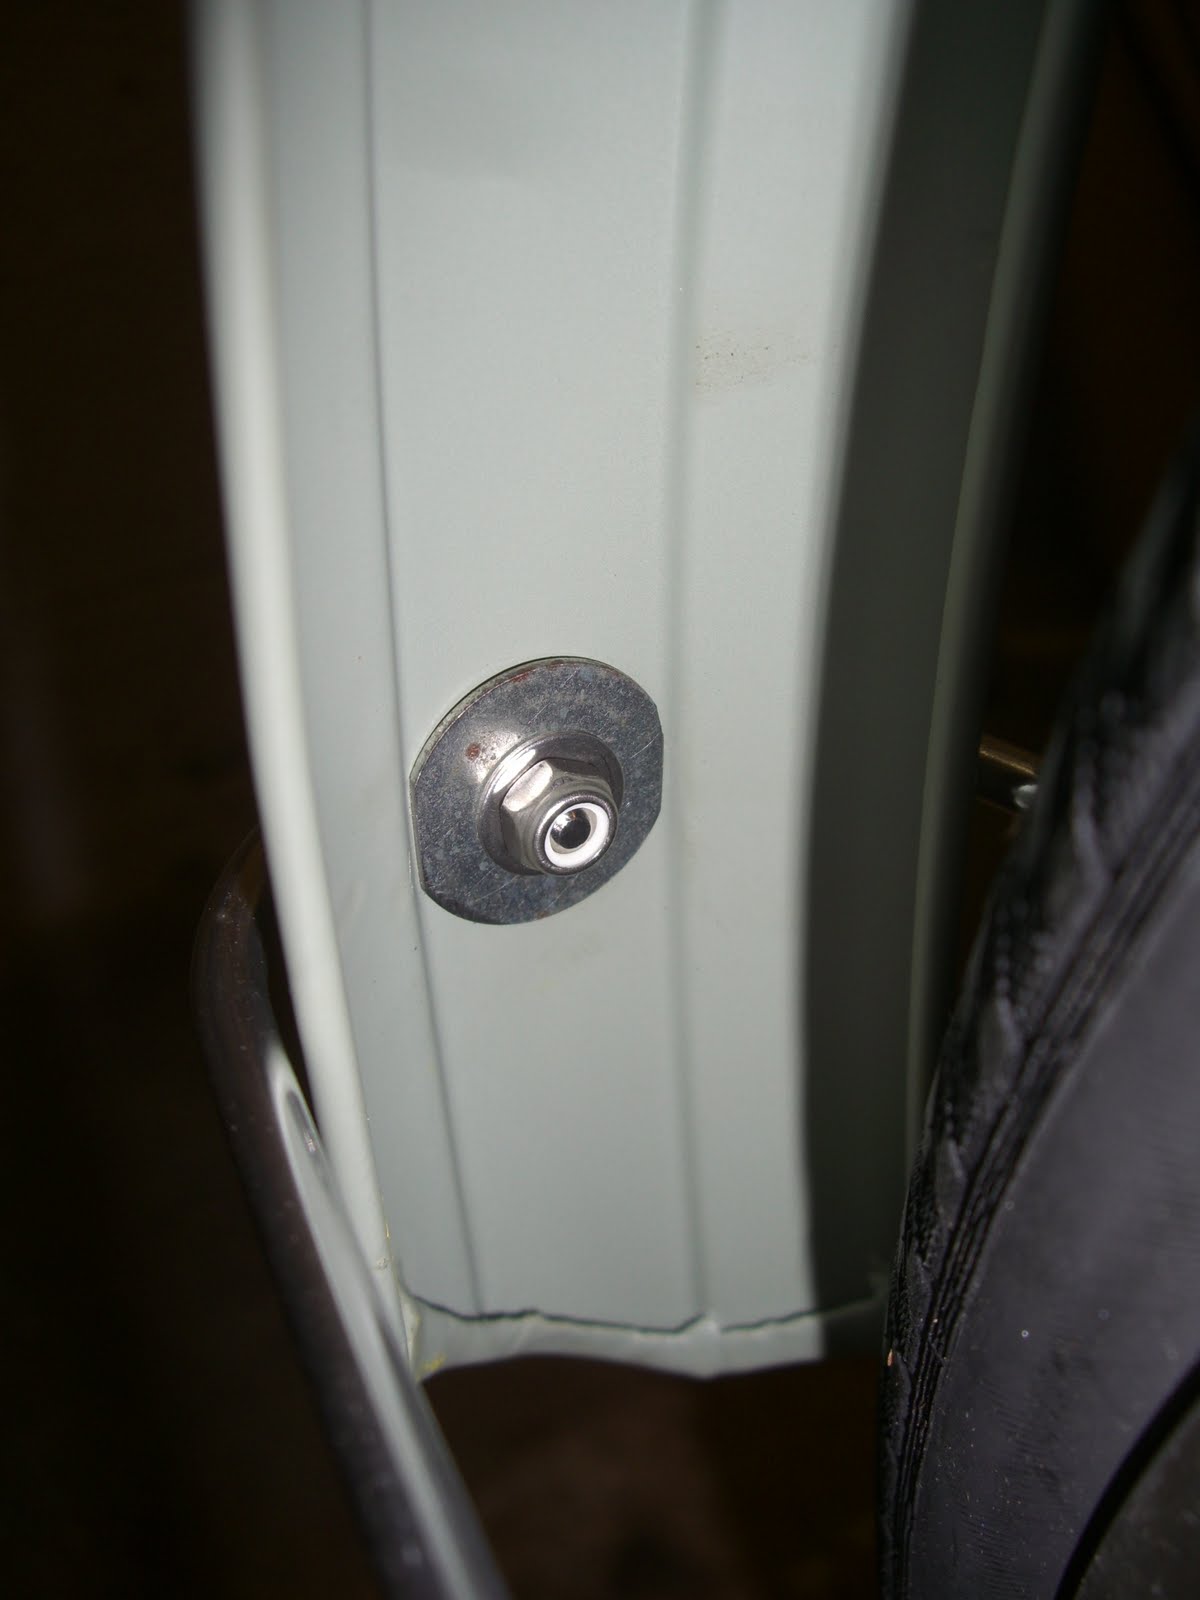
It is difficult to see, but again, there is a faucet washer between the bracket and the seatstay bridge for vibration dampening.
With these two brackets in place, mounting the fender stays is a snap:

Right now, I used the configuration of one eyelet per stay as provided by Civia.

As noted earlier, I'm a one eyelet per stay skeptic and my default inclination is to circle back later and convert to two eyelets per stay. In the interim, I decided to try an experiment with a backing plate on the fender stay eyelet:
You can see where I filed some flats on the fender washer so it fits in the channel on the fender. Just pushing the fender back and forth, it feels a lot stiffer than the floppy single eyelet fenders I got from Velo Orange before they went to two eyelets per stay, so I'm guardedly optimistic.
No comments:
Post a Comment