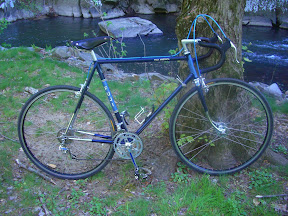
Regular readers of this blog may recall I recently acquired a 1988-ish Bianchi Grizzly. I bought this on ebay while I was in Japan & had is shipped to my ever cooperative buddy Dakota. Yesterday, things have settled down enough for me to turn my attention to the First Law of First Things To Do On Vintage Bicycles - repack all the bearings.
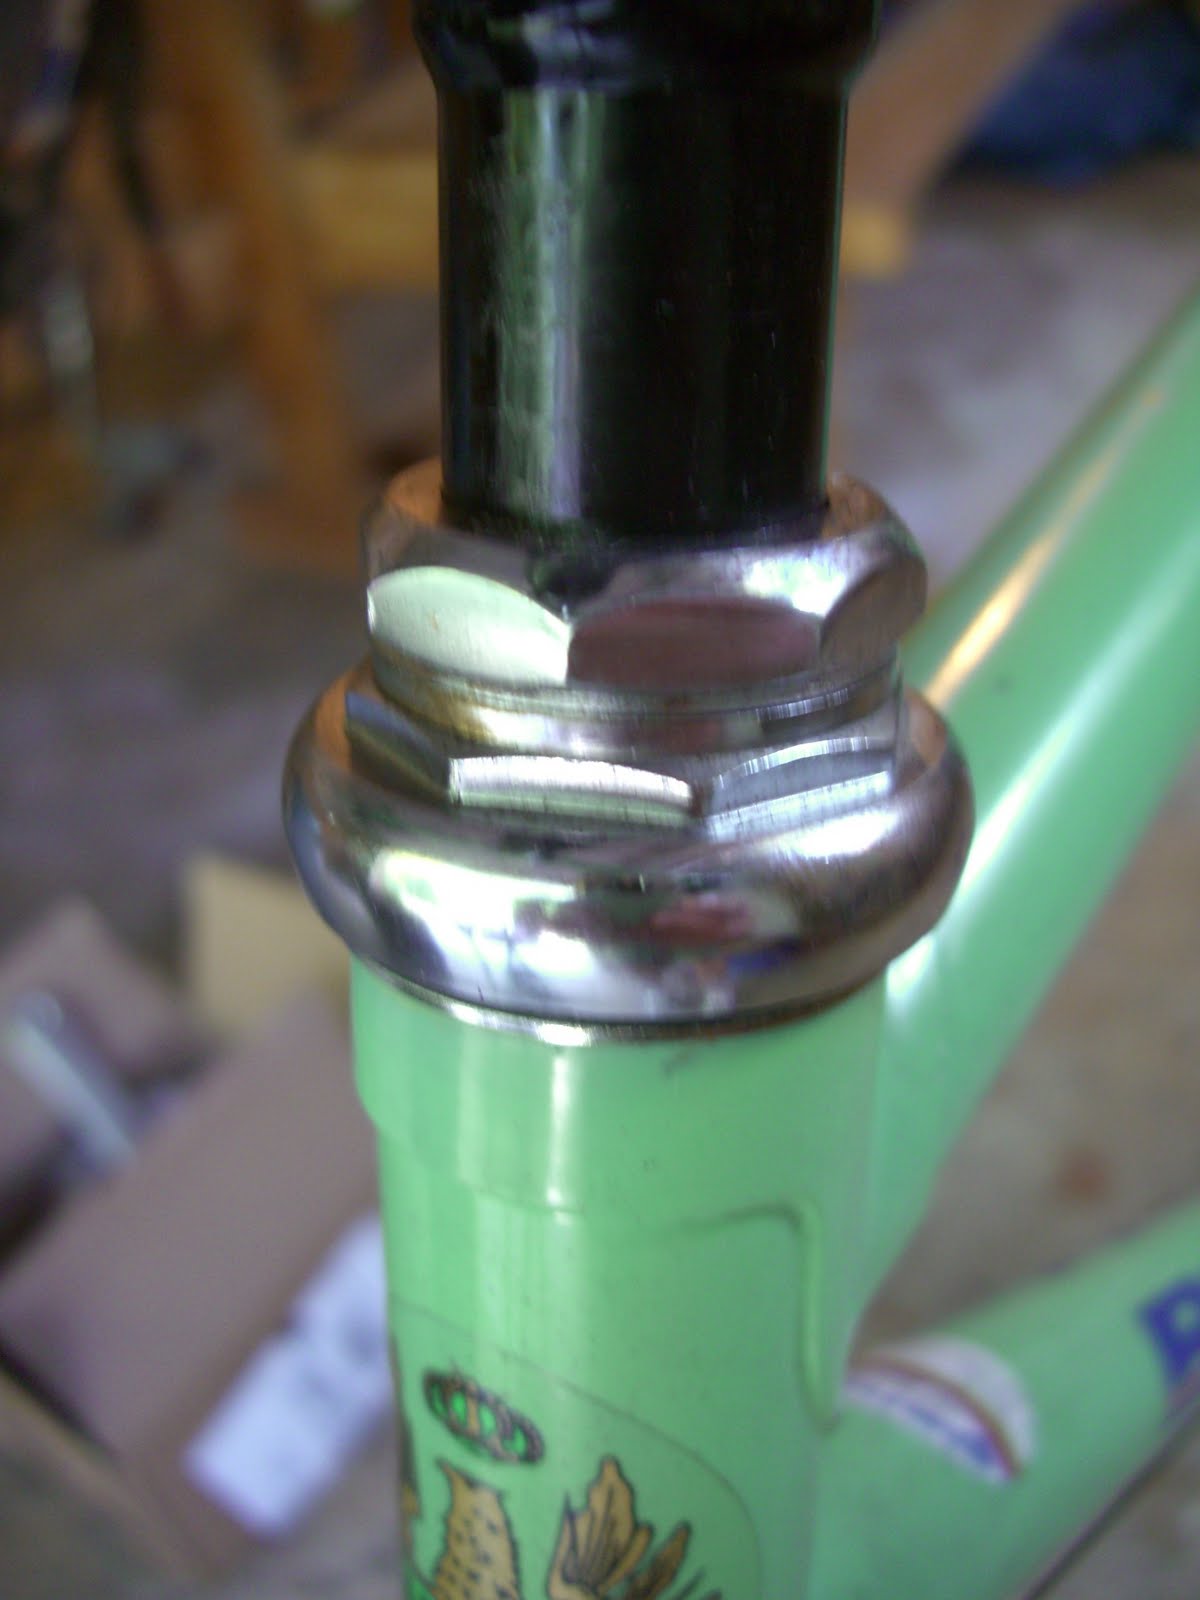
Doing so on the bottom bracket and the headset confirmed my opinion about the bike, which is that it probably had experienced only light use - no scoring of races, that sort of thing. Both of these items are beefy chrome numbers in excellent condition:

The hubs are nifty Suzue sealed bearing units, quite smooth, so I left well enough alone with these after a minor adjustment:
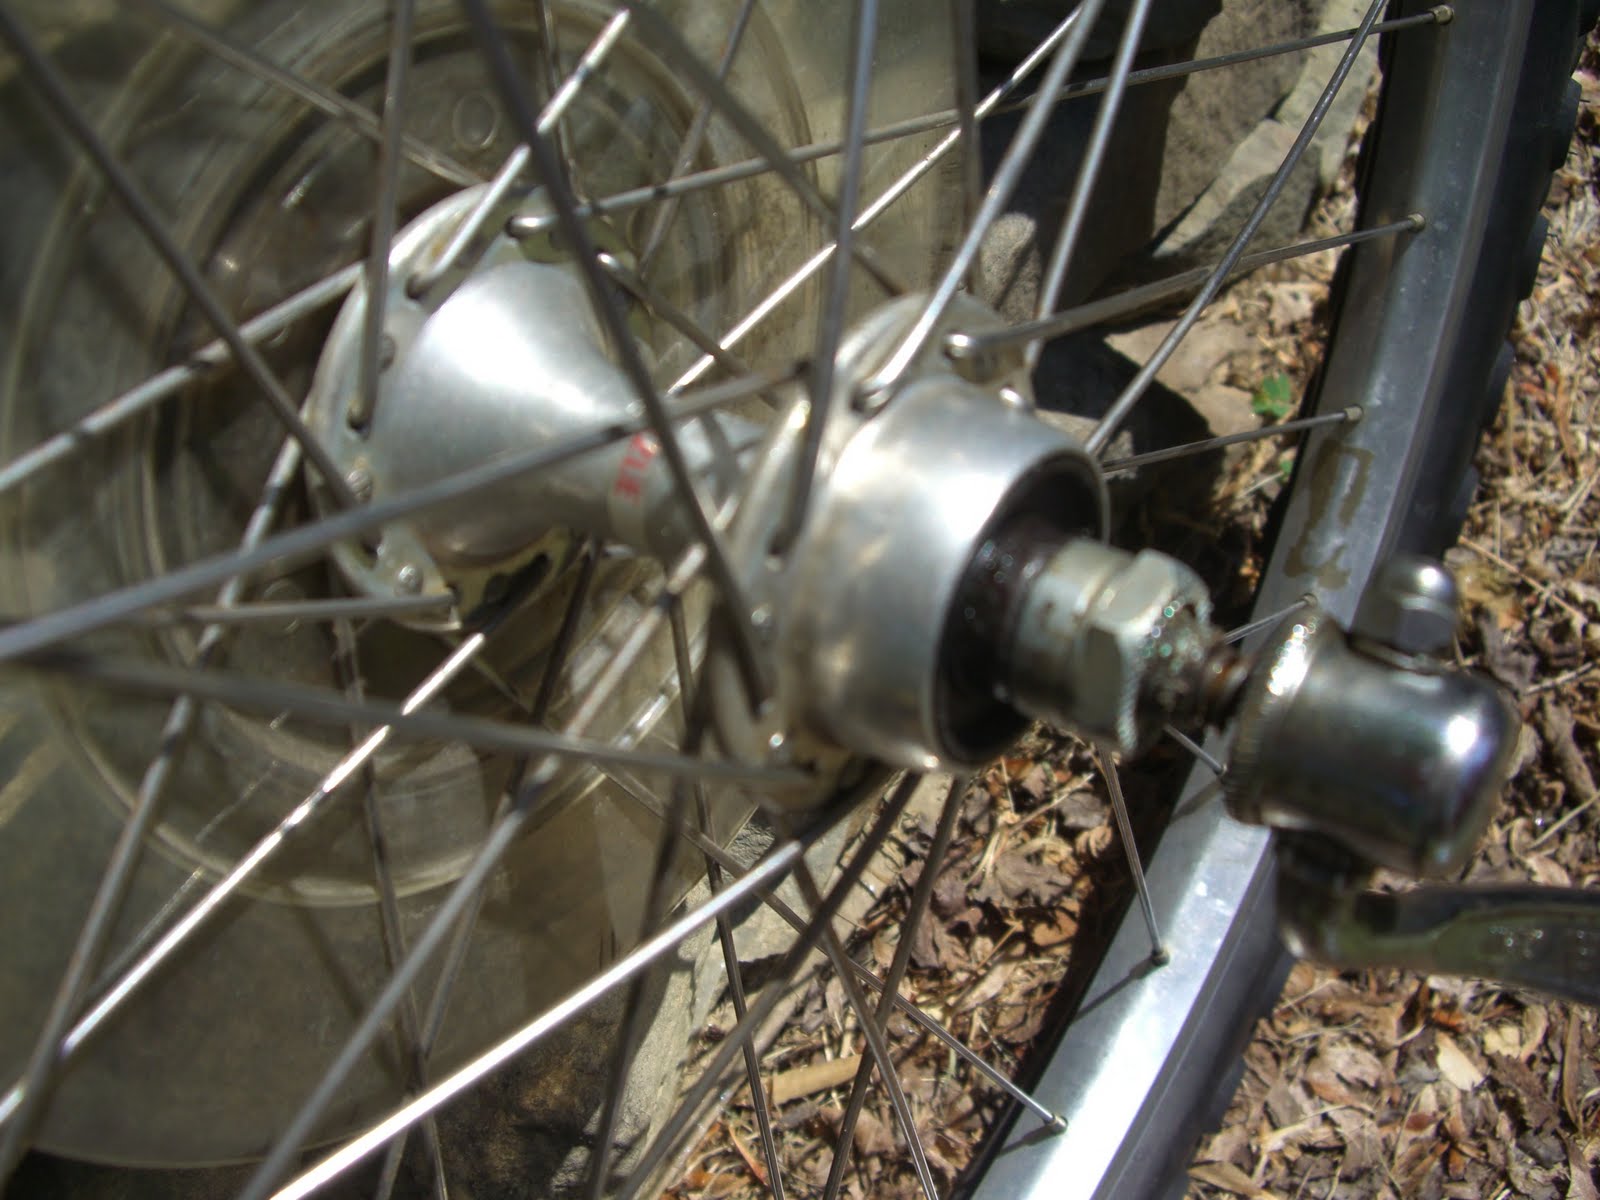
They do have a red label - this sort of thing always makes me wonder if there is a tribe of Red Label Suzue Hub worshippers out there. Usually, there is in some corner of the Internet.
Now, for the pedals, some MKS Mountain type - ever wonder how to remove one of these dust caps?

Yeah, me too. Well, I first noticed the four cylindrical holes and postulated that some type of pin spanner was in order. I made a couple of fitful stabs in this direction & then decided this was a fruitless line of enquiry. Then I noticed the small cutout on the pedal body next to the dust cap - it is visible in the photograph above.
I gingerly approached prying it out with a couple of small implements, but it became evident that the plastic was too soft for this. So I modified my approach:

Starting with the smallest of three tiny flat screwdrivers, I worked each into the slot and under the dust cap. It required all three since the smallest screwdriver wasn't strong enough to pry the cap and the largest was too thick to work into the gap without doing so first with a smaller screwdriver. The intermediate size made the progression from small to big screwdrivers easier. I confirmed this approach on the second pedal.
The pedals were pretty dry and crunchy. Upon disassembly, the outboard bearings/races were in good condition, but the inboard bearings looked as if they never had any grease ever. Sadly, this lack of grease is something that plagues the otherwise excellent & economical MKS pedals & reminds us of the Second Law Of First Thing To Do With A New Set Of Economical MKS Pedals - always grease and adjust the bearings. I don't know why this is, the only thing I can think is that Taro the Grease Guy at the MKS plant must think he is saving MKS a few yen by stinting on the grease.
And this sure isn't getting Taro fired, as this problem has been going on for decades with these otherwise wonderfully inexpensive products.
So over the years, two decades actually, the inboard bearings and races had corroded. I cleaned things up as good as I could, this was the result:

This is pretty marginal especially if one is OCD about smooth pedals (I am). So, faced with the choice of futzing around with 52 small bearings (1/8", 13 per race, good info for somebody's parts database) with dubious prospects for a satisfactory outcome or a new, shiny, clean set of Economical MKS pedals, I opted for the latter, MKS MT-Lux Comp ATB/Mountain pedals to be precise:

And stay tuned for more on the Griz, I've got a couple of surprises planned for this, not least of which is making this into my Osaka City Bike.
No comments:
Post a Comment